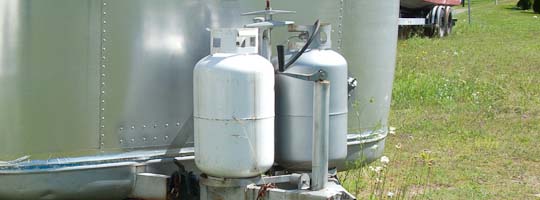
Changing Propane Cylinders

- Shut off all appliance valves.
- Shut off the manual shut-off valve on the cylinder(s) supplying propane to the system. Do not use a wrench or pliers to close the service valve or fixed liquid level gauge. These valves are designed to be closed leak-tight by hand or screwdriver as appropriate. If wrenches are necessary to stop a leak, the valve needs repair or replacement.
- Disconnect the cylinder and remove for refilling. Install a protective plug in valve outlet. Acme/Type 1 valves have right handed threads which are secure when hand tight, and on the Quick Disconnect/Type 2 Valves, the male connection is inserted into the female connection on the cylinder valve. (No wrenches are required for both the Acme and the Quick Disconnect).
- Prior to reconnecting the cylinder to the service line, secure cylinder in its cabinet or bracket. Turn the container with the open part of container guard towards trailer (travel trailer installation). This protects valves and regulator against flying rocks and mud.
- Remove the protective plug and connect the cylinder. When tightening the POL Nut (left hand thread) on the service valve, draw it up snug with a proper wrench. This is a machined male brass fitting which seats securely against a female seat in the POL valve - no pipe dope is necessary. Acme/Type 1 valves have right handed threads which are secure when hand tight, and on the Quick Disconnect/Type 2 Valves, the male connection is inserted into the female connection on the cylinder valve. (No wrenches are required for both the Acme and the Quick Disconnect).
- Slowly open the service valve all the way. Listen to the regulator. A continuous hiss may indicate a leak or an open valve on an appliance.
- Check for leaks after connecting. Apply approved leak detector solution to connection, turn off all burners and pilots, and open service valve. Leaks will be detected by the growth of the bubbles. If bubbles grow, tighten or repair the connection as needed. Repeat leak test until problem is corrected.
- After you are sure the system is leak-free and the controls are operating properly, relight all pilots, following the manufacturer's instructions.
- Check all tank and the line connections periodically to be sure they are tight. When testing for leaks, use approved leak detector solution - not matches.
Tags: Propane